
Table of Contents
- Exploring the Essential Techniques for Captivating Watercolor Landscapes
- Choosing the Right Materials for Stunning Landscape Art
- Tips for Creating Depth and Perspective in Watercolor Landscapes
- Inspiration from Nature: Finding Beautiful Scenes for Your Paintings
- Q&A
- Future Outlook
Exploring the Essential Techniques for Captivating Watercolor Landscapes
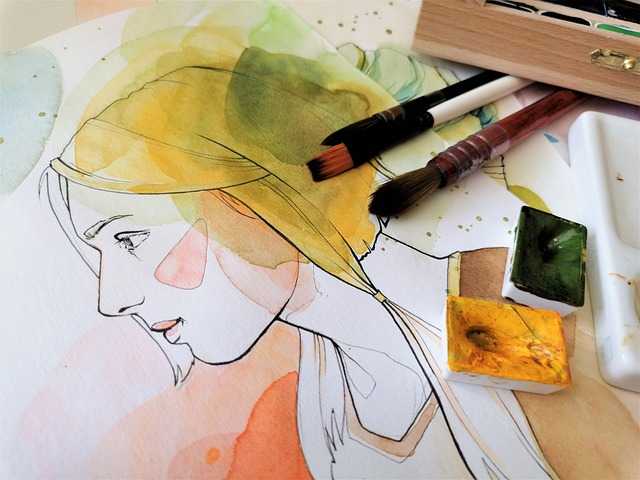
Creating captivating watercolor landscapes requires not just skill, but also an understanding of specific techniques that bring your artistic vision to life. One fundamental approach is wet-on-wet painting, where you apply wet paint onto a wet surface. This technique allows colors to blend seamlessly, resulting in soft edges that mimic the diffused look of a hazy sky or a tranquil lake. To master it, try starting with a wet canvas, and then drip or brush in your colors, observing how they move and mix organically.
Another essential technique is layering and glazing. This process involves painting multiple transparent layers, each allowing the colors underneath to shimmer through. Begin with lighter hues and progressively add darker shades. This not only creates depth but also enhances the vibrancy of your landscape. Pay close attention to drying times; waiting for each layer to dry before applying the next ensures that your colors maintain their integrity.
Don’t overlook the power of negative space in your compositions. Often, what you choose to leave out can be just as impactful as what you include. By deliberately allowing sections of white space in your artwork, you can create contrast, guide the viewer’s eye, and emphasize the focal points of your landscape. Consider utilizing the areas around trees or hills as natural frames, enhancing the overall balance of your piece.
mastering the technique of dry brushing can add texture and detail to your landscapes. This method involves using a dry brush with minimal paint, allowing the texture of the paper to show through. It’s particularly effective for creating effects like tree bark, grass, or rocky surfaces. To practice, experiment with various brushes and pressures to discover different textures and effects that can enrich your landscape.
Choosing the Right Materials for Stunning Landscape Art
Creating breathtaking watercolor landscapes begins with selecting the right materials. The base for your artistic endeavor is vital; options such as cold-pressed paper and hot-pressed paper each bring distinct textures and absorptive qualities. Cold-pressed paper has a rough texture, perfect for those looking to create depth and dimension with bold strokes, while hot-pressed paper offers a smooth canvas for finer details and subtle washes. Consider the weight of the paper, too—heavier papers (300 gsm) can better withstand multiple washes without warping.
Next, focus on your watercolor paints. There are two primary types to choose from: tube paints and pan paints. Tube paints boast a creamy consistency ideal for mixing and creating vibrant blends, while pan paints are convenient for travel and offer excellent clarity. When selecting colors, opt for artist-grade paints that provide superior pigmentation and lightfastness to ensure your landscape art remains vibrant over time. Many artists also appreciate the versatility of a limited palette, which can create a cohesive look across your paintings.
Brushes are another critical material that dramatically affects your painting style and results. A variety of brush shapes offers unique effects: round brushes are great for controlled detail, while flat brushes excel in creating washes and broader strokes. If you want to try different textures, consider adding rigger brushes, which are perfect for fine lines such as branches and grass. Always invest in quality brushes, as they will retain their shape and provide an even application of paint.
don’t overlook the importance of accessories and tools that complement your painting process. Items such as masking fluid can help preserve white areas, while spray bottles are excellent for keeping your paints moist during longer sessions. A well-organized palette, either plastic or a traditional wooden one, is essential for easy mixing and access to your chosen colors. Here’s a quick comparison table summarizing essential materials:
| Material | Best For | Notes |
|---|---|---|
| Cold-Pressed Paper | Depth and texture | Great for dynamic washes |
| Hot-Pressed Paper | Fine details | Ideal for smooth applications |
| Tube Paints | Vibrant mixing | More pigment, may require a palette |
| Pan Paints | Travel and ease | Convenient and versatile |
| Round Brushes | Controlled detail | Perfect for fine lines |
| Flat Brushes | Washes and broader strokes | Useful for background and skies |
Tips for Creating Depth and Perspective in Watercolor Landscapes
To achieve a sense of depth and perspective in your watercolor landscapes, it’s essential to understand the importance of layering. Start by sketching a basic outline of your scene, separating the foreground, middle ground, and background. Use a light wash of color for the sky and distant hills to create a sense of airiness. This can be reinforced by employing cooler colors in the background, which visually recede, while warmer tones can be used in the foreground to draw the viewer’s eye closer.
Another effective technique to enhance depth is to manipulate the size of objects in your painting. Larger elements in the foreground will naturally attract attention and provide a strong visual anchor. To illustrate this, consider placing a tree or a rock formation close to the bottom of your composition, while smaller items like distant buildings or trees can populate the background. This size difference not only adds realism but also creates a dynamic flow in the landscape.
Utilizing atmospheric perspective is key in watercolor landscapes. This involves softly integrating elements such as fading colors, softened edges, and subtle value shifts as you move away from the foreground. To do this effectively, apply a lighter hand with your pigment as you paint further back into the scene; the result will give the illusion of distance. Emphasizing shapes around the edges of distant features will also help to blur them, enhancing the overall feeling of space.
integrating texture into your work can evoke a sense of realism that enhances perspective. Experiment with different techniques like splattering, wet-on-wet, or using salt to create unique textures that represent various landscape elements—such as a rough, rocky foreground or soft, flowing grass. Additionally, consider the direction of light and shadow. Bold contrasts in the foreground, gradually fading away in the background, will not only aid in creating depth but will also add an emotional dimension to your artwork.

Inspiration from Nature: Finding Beautiful Scenes for Your Paintings
Nature is an endless source of inspiration for watercolorists, offering countless beautiful scenes that evoke emotion and creativity. From the vibrant colors of a sunset to the delicate details of a dew-kissed leaf, each element in the environment provides an opportunity to capture the essence of the landscape. As you venture outdoors or explore photographs, consider focusing on these captivating elements that can enhance your watercolor paintings:
- Light and Shadow: Play with the way light hits landscapes at different times of the day. Early mornings and late afternoons offer softer, warmer tones.
- Colors of Seasons: Each season brings a unique palette. Explore the pastel hues of spring blossoms or the rich, warm tones of autumn foliage.
- Textures and Patterns: Observe the intricate textures in nature, such as the rough bark of trees, the smooth surface of water, or the softness of clouds.
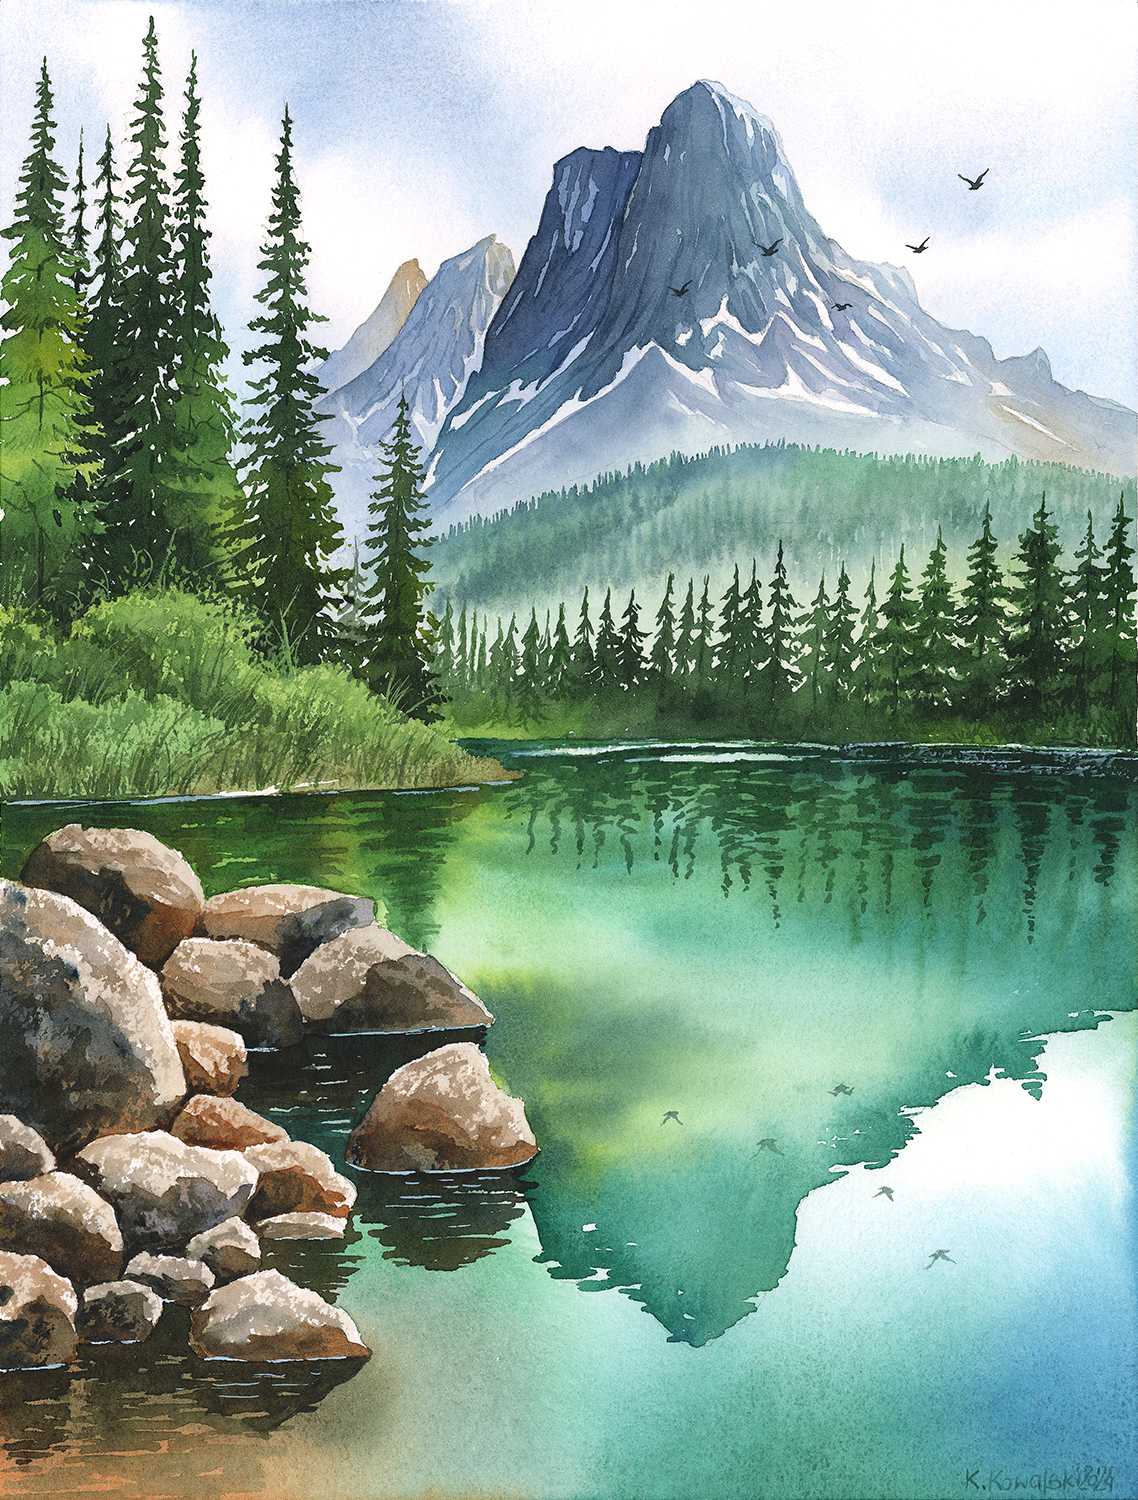
- Natural Components: Incorporate mountains, rivers, flora, and fauna to create whimsical or realistic landscapes that resonate with viewers.
One effective technique is to sketch scenes that interest you before starting to paint. Use quick, loose strokes to capture the composition and layout, focusing on the overall shapes rather than getting bogged down in details. This initial step will help you understand the *balance* of colors and forms in your painting. When you look through your sketches, you’ll be surprised at how certain scenes resonate more than others, illuminating your unique artistic voice.
Another method is to create a mood board filled with photographs or snippets from magazines that embody your vision. Collect images with various atmospheres, such as serene lakes, rugged mountains, or luminous meadows. This will help you consolidate your ideas and provide a reference point when you begin painting. Consider categorizing your images based on themes or colors to stimulate your imagination further.
| Natural Element | Color Palette | Emotional Tone |
|---|---|---|
| Sunrise over Water | Pastels — pinks, oranges, blues | Calm, Hopeful |
| Autumn Forest | Rich reds, golds, browns | Nostalgic, Warm |
| Mountain Range | Deep blues, greys, white | Majestic, Introspective |
remember to embrace the imperfections in nature. A crooked tree, an uneven horizon, or an abstract cloud formation may influence your painting’s character in unexpected ways. By stepping outside of conventional norms and embracing the wild beauty around you, you free yourself to experiment with style and technique. Use your brushes to not only replicate what you see but also to convey your personal interpretations of nature’s artistry.
Q&A
Q&A: Exploring the World of Watercolor Landscapes
Q1: What is a watercolor landscape?
A1: A watercolor landscape is a painting that captures natural scenes—such as mountains, forests, rivers, and fields—using the watercolor medium. Known for its fluidity and vibrant hues, watercolor allows artists to create soft gradients, intricate details, and captivating atmospheres, often showcasing the play of light and shadow in nature.Q2: What materials do I need to start painting watercolor landscapes?
A2: To embark on your watercolor landscape journey, you’ll need a few essential materials. Start with high-quality watercolor paper, which can handle the water without warping. Invest in a good set of watercolor paints—either tubes or pans—as well as a selection of brushes in various sizes. A palette for mixing colors, a water container, paper towels, and masking tape will also enhance your painting experience.Q3: What are some beginner techniques for painting landscapes in watercolor?
A3: Beginners can experiment with several techniques to achieve beautiful watercolor landscapes. Start with the wet-on-wet method, where you apply wet paint onto wet paper for soft backgrounds. The wet-on-dry technique, painting wet strokes on dry paper, can add sharp details. Practicing washes is essential for creating skies or large areas of color, while dry brushing helps create texture in foliage or rocky surfaces.Q4: How can I choose a suitable landscape reference for painting?
A4: To choose a suitable landscape reference, consider what inspires you. Whether it’s a photograph, a scene from nature, or even a combination of elements from various locations, look for striking compositions. Pay attention to the balance between foreground, middle ground, and background, as well as the presence of leading lines that draw the viewer’s eye through the painting.Q5: How do I mix colors effectively for watercolor landscapes?
A5: Effective color mixing in watercolor involves understanding color theory and practicing. Start with a limited palette to understand how primary colors blend to create secondary and tertiary shades. Test mixtures on a scrap piece of paper before applying them to your landscape. Remember, water control is crucial; a wetter mixture will result in more translucent colors, while less water yields more vibrant tones.Q6: What are some common mistakes to avoid when painting watercolor landscapes?
A6: Common mistakes include overworking the paint, leading to muddied colors, and failing to plan your composition beforehand. Another pitfall is neglecting to leave white space for highlights, which can enhance the sense of light in your painting. remember to be patient; allowing layers to dry thoroughly before adding details can prevent unwanted blending and maintain clarity.Q7: Can you share tips on how to finish and present watercolor landscapes?
A7: To finish your watercolor landscape, consider adding final touches, like enhancing details with a fine brush or splattering paint for texture. Once complete, allow your painting to dry completely. To present your artwork, frame it behind glass to protect against dust and fading. Alternatively, consider mounting it on a larger backing for a more modern look. Sharing your work online through social media or artist platforms can also help you connect with other watercolor enthusiasts.Feel free to dive into your watercolor landscape journey, combining your creativity with technique to explore the captivating elements of nature on paper!
Future Outlook